
Placing The Blocks
The Stonebloc Install Stencil
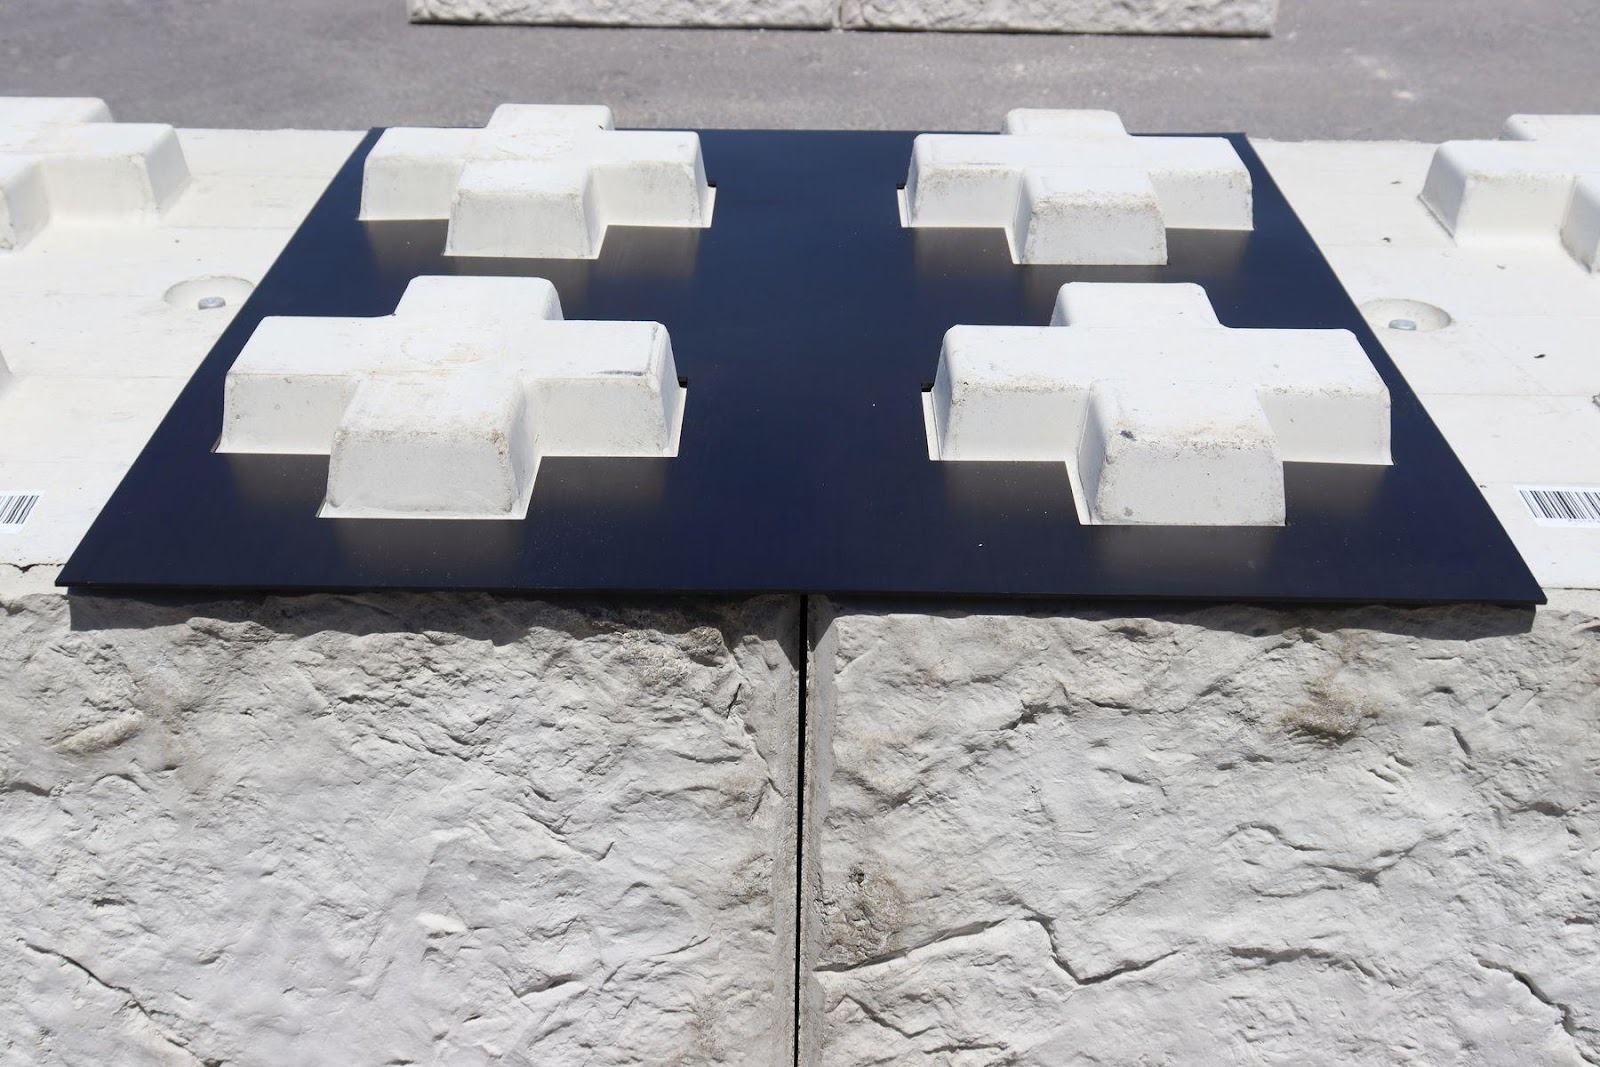
Correct spacing of the base layer of a Stonebloc wall is critical to the speed and precision of the wall construction. To ease this process, Envirocon has developed a stencil for checking the correct placement of Stonebloc. It is highly recommended you use this - it will save time and duplicated effort.
Step by Step Guide
|
|
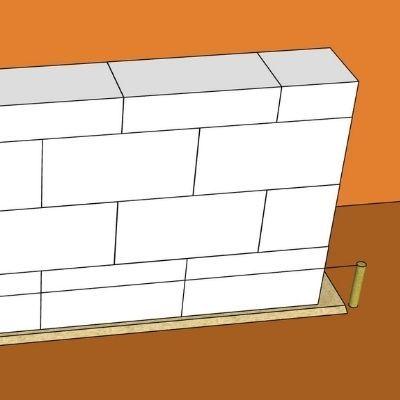
Run a string line along the length of the wall as guide. |
|
|
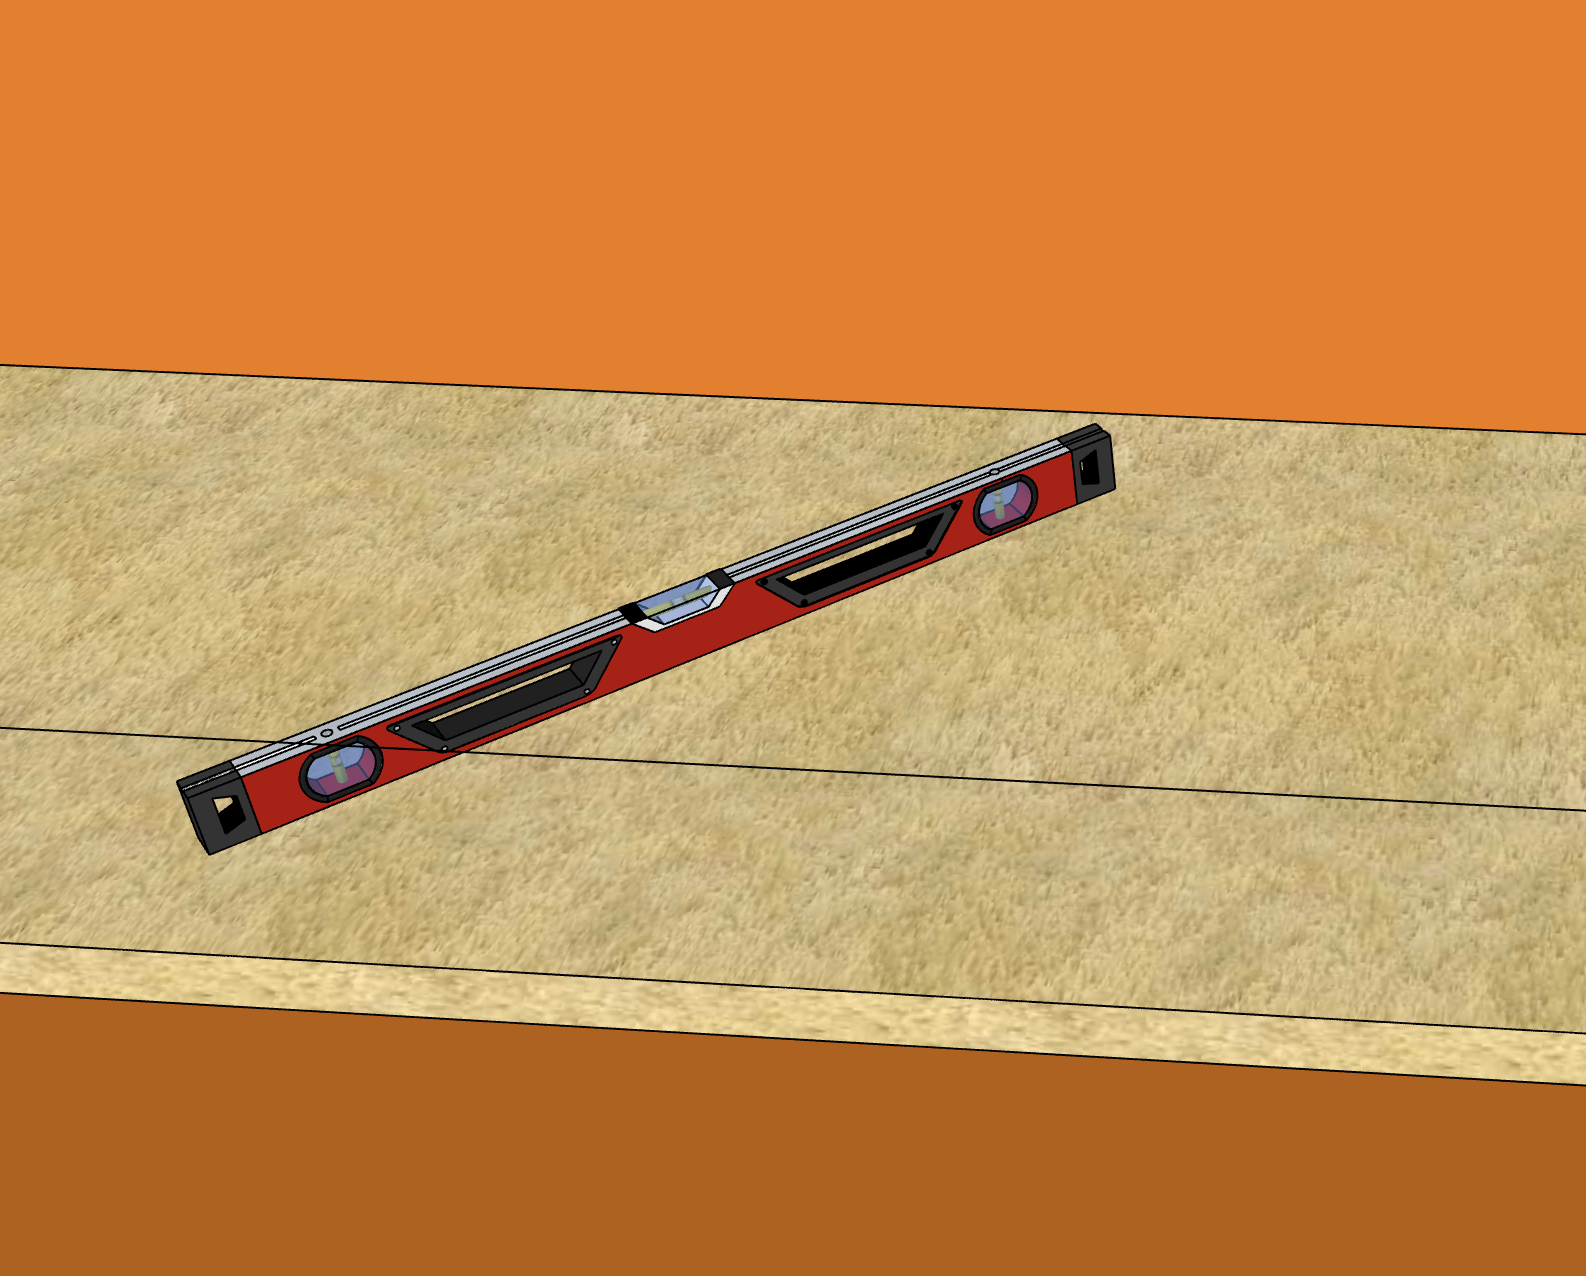
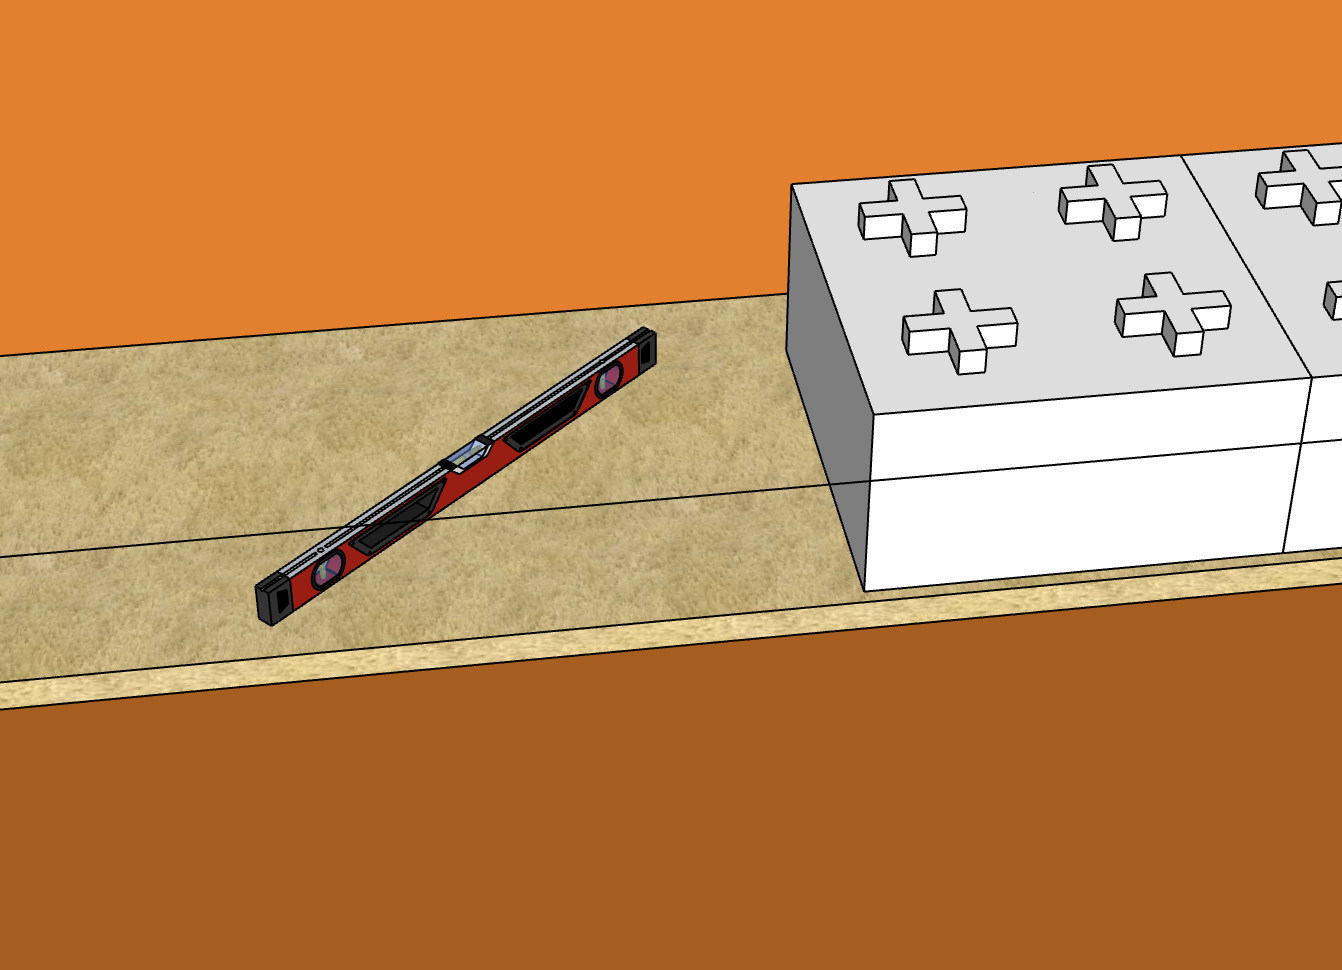
Ensure the fines are level in both horizontal directions in the immediate |
|
|
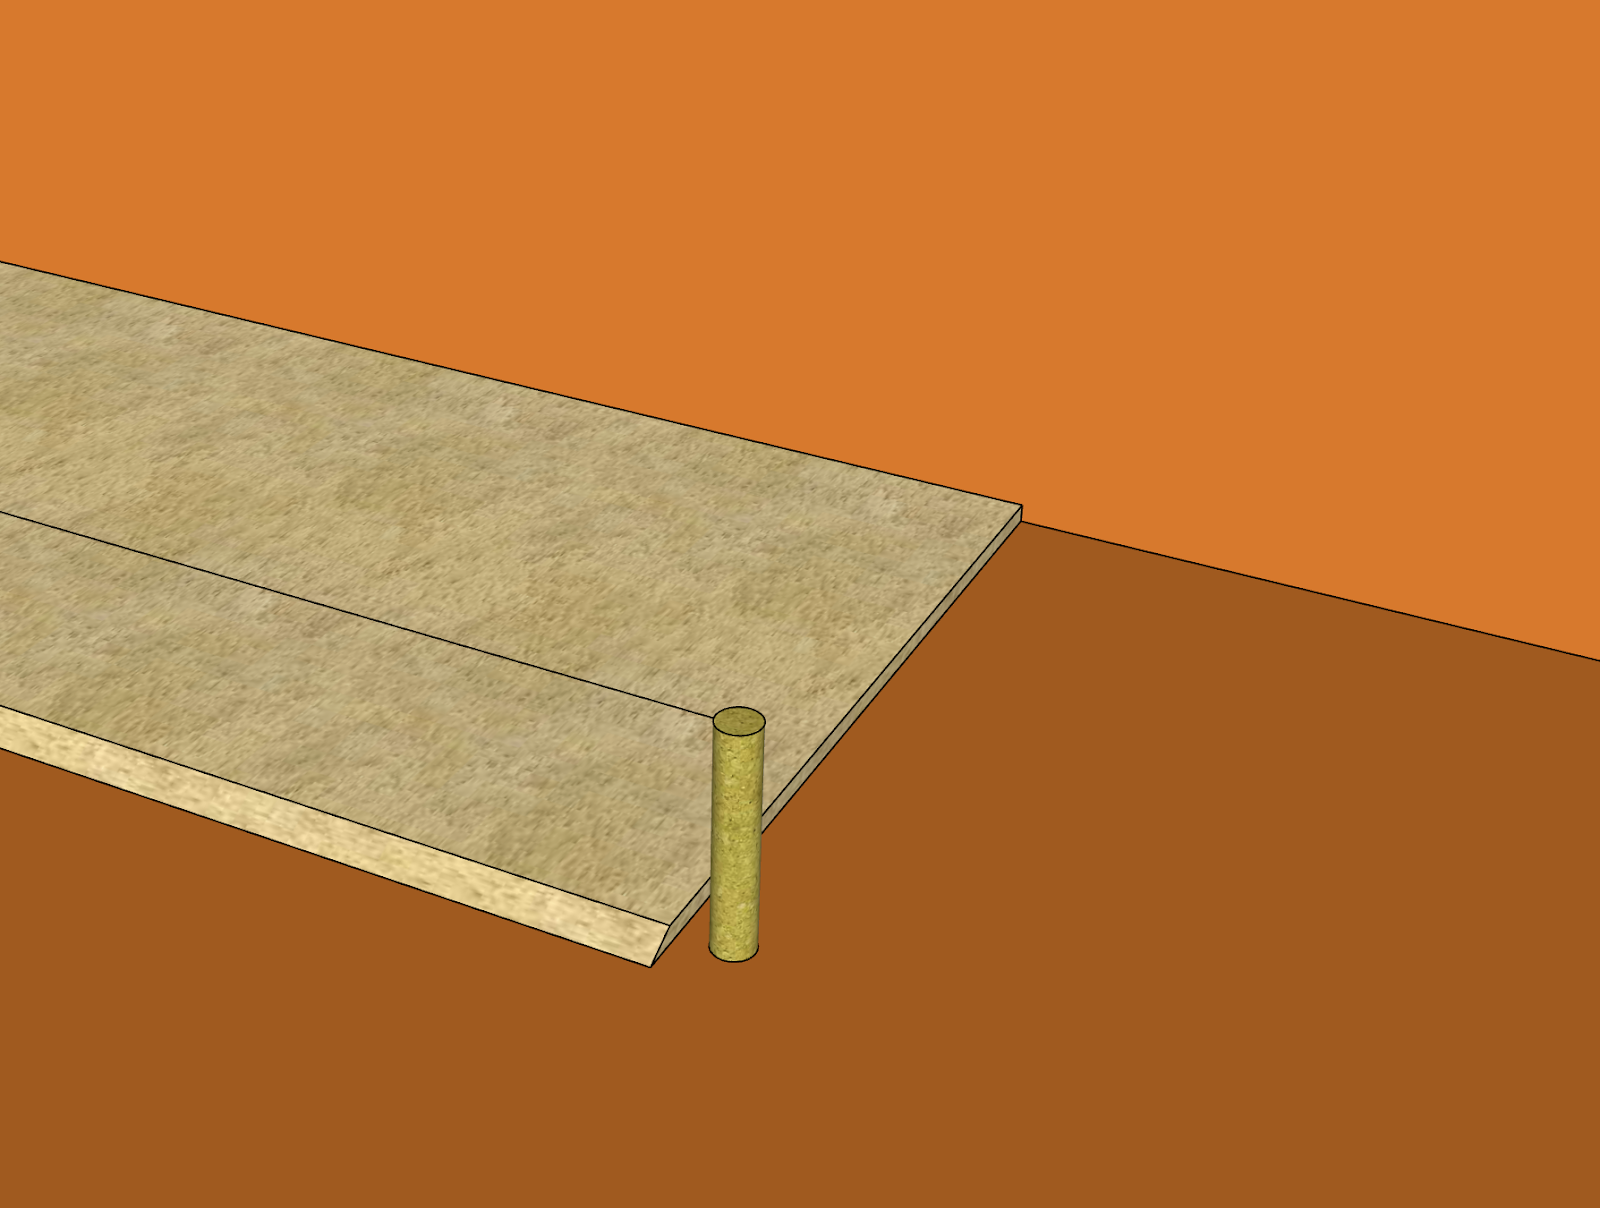
Place your first block. Leave a gap of 5mm between the front of the |
|
|
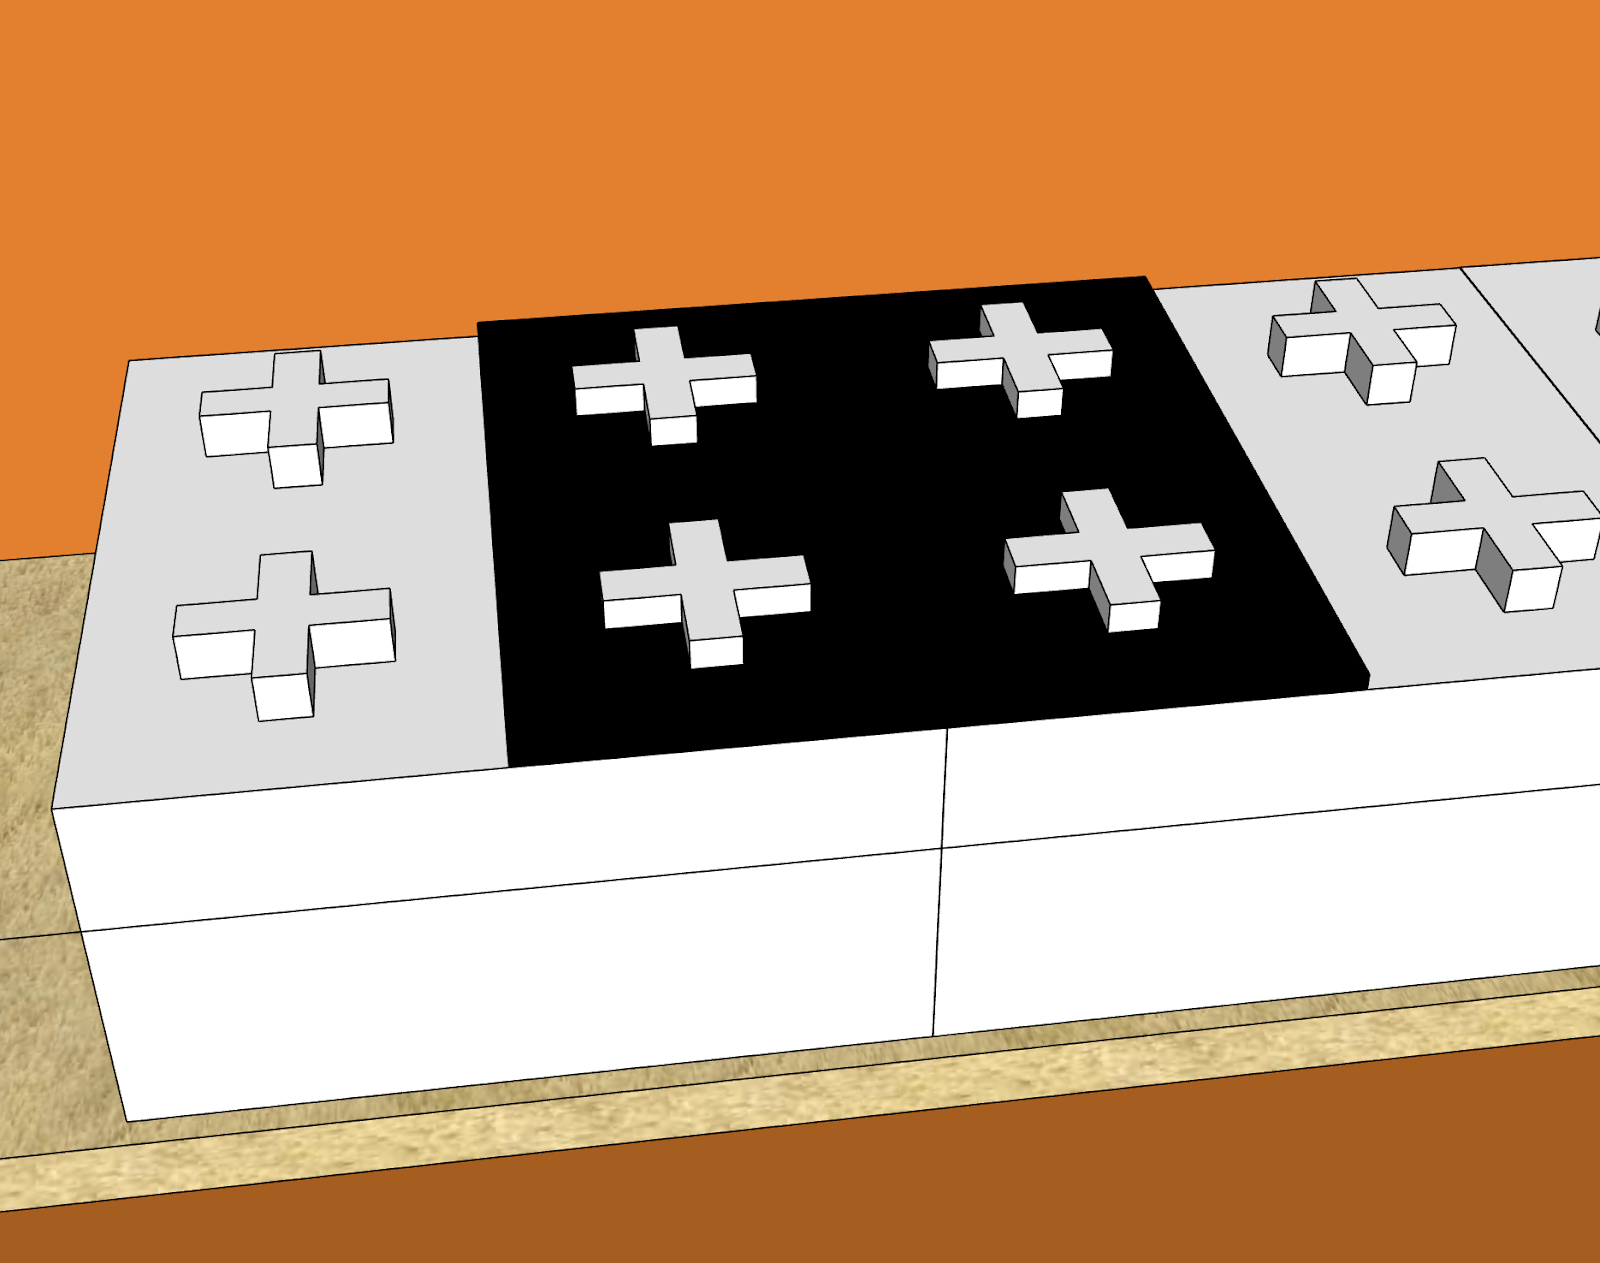
Place the next block using the stencil to ensure the correct spacing has |
|
|
If required, use the long level to smooth out more of the levelling fines. |
|
|
You may need to use packing shims in between the blocks to accomodate minor variations in level caused by the foundation or the blocks. This is normal and shims will be provided with the blocks. It is important the contractor ensures the wall is vertical plumb, shims play a role in achieving this. Place the shim ~20mm from the front edge of the block. |
|
|
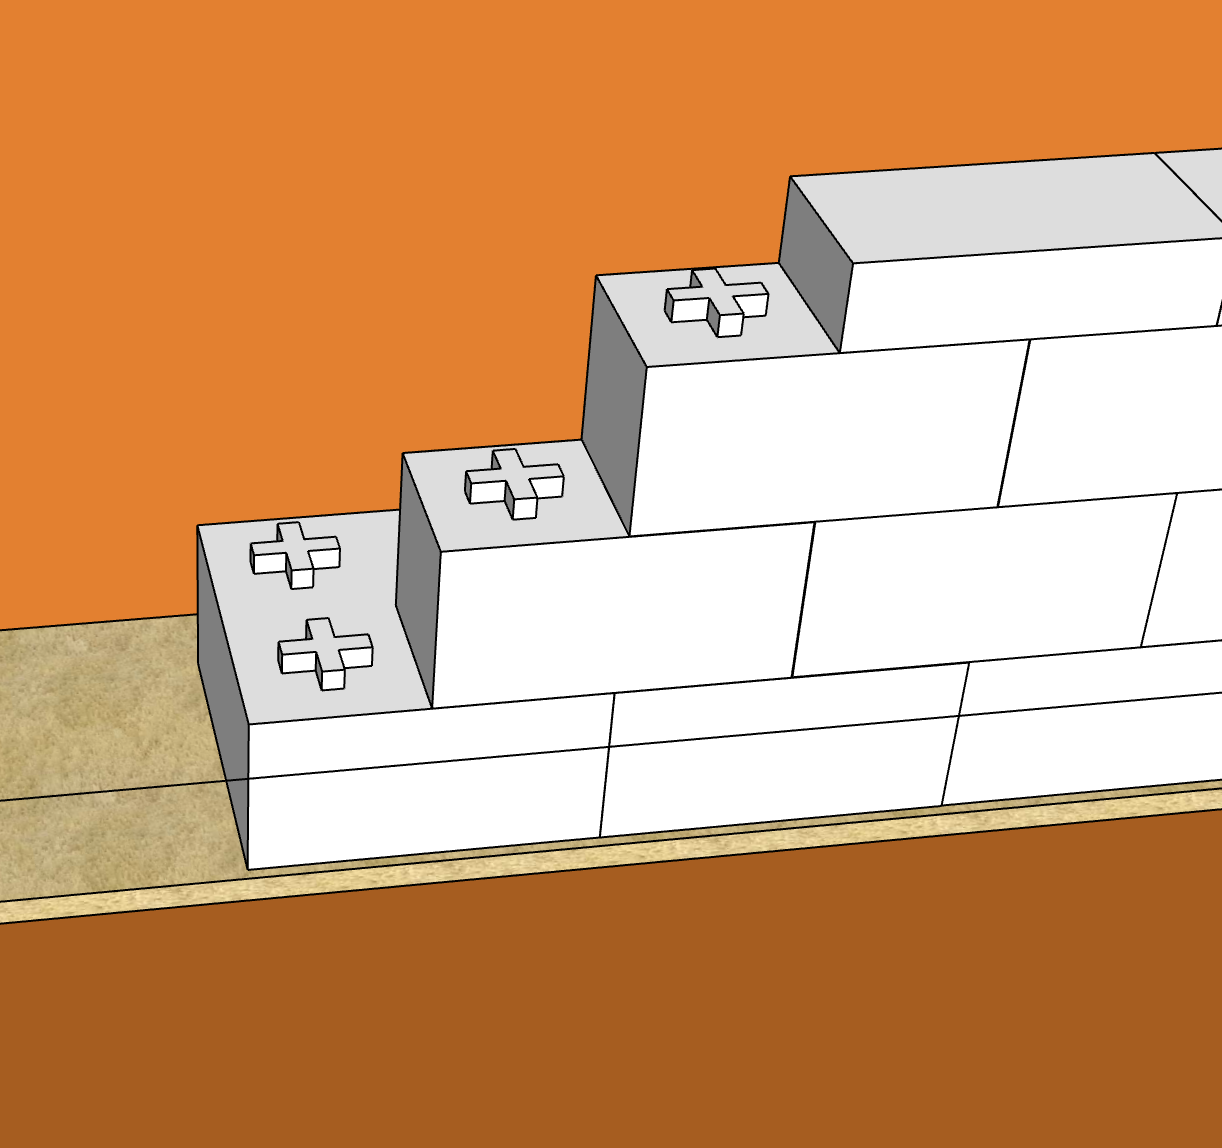
Once you have placed 3-4 base blocks, return to the start of the wall to |
|
|
Continue to build the place the blocks, building the complete wall as you |


Tips and Tricks
- When your blocks have been delivered/you've collected them, line your pallets next to the length of the wall. This will help speed up installation.
- Achieving the correct spacing for the base layer is the most critical part of the installation process. Get this wrong and your whole build process will be difficult.
- Building the whole wall as you move down the length of the wall is both faster, and allows you to identify and sort out any incorrect spacing issues more efficiently.
- For minor adjustments between blocks, use a crowbar to lever the blocks.
- Check the blocks for deformities before placement. Non-true size blocks will slow down the install process and cause binding.